

Secure VPN Traffic With No Leaks
What’s up?
In this post we will learn how to secure our VPN so that it doesn’t leak any traffic.
If you have ever used a VPN for geolocation specific sites or applications, you might have run into the issue where your VPN turns off and suddenly you are connecting to that application using your main connection which can lead to minor interruptions from that site or application or even becoming blocked.
A solid setup can be the differential preventing this from happening and that is what we will learn how to configure in this post using some basic Windows firewall rules.
Let’s begin.
Requirements
You will need a working VPN in order to follow this guide. There are some free ones, however, I haven’t tried them enough to recommend it.
In general I recommend getting a Linux virtual private server (VPS) with low specifications and just install OpenVPN server on it. If you would like a tutorial on that let me know in the comments below. If you would like to go this route try to get a dedicated IP VPS (Hostinger offers them).
Disable IPv6
Before going into the firewall rules we should disable IPv6 since that’s another way an application or service could communicate with the server and give us trouble.
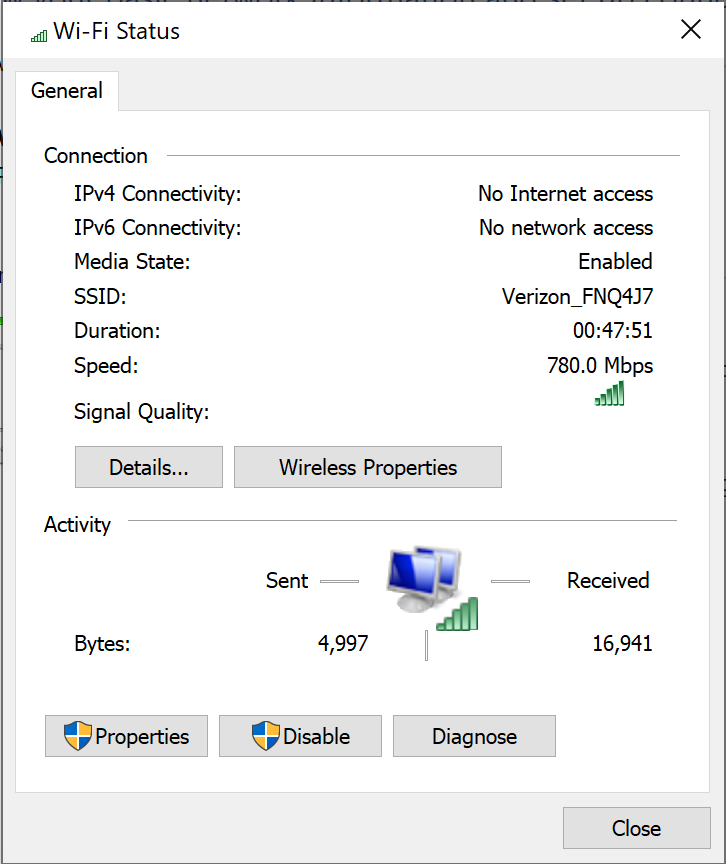
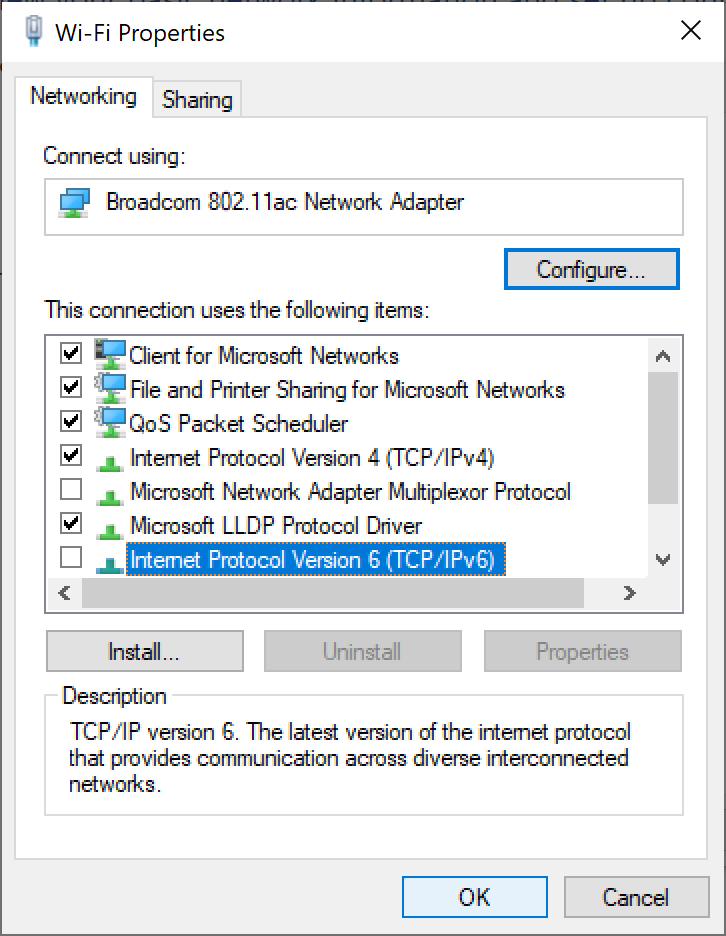
Head over to the control panel, then Network and Internet, followed by Network and Sharing Center. Then click the name of the network you want to use this configuration for. You should find that network’s properties. From there just make sure IPv4 is enabled and IPv6 is disabled (unchecked).
If you are confused you can follow the images below:


After disabling IPv6 for your network, you should also disable it via command line. To do that we need an administrator level command prompt. So press the Windows key, type cmd and you should see the command prompt icon show up. Right click it and choose “Open as Administrator”. That should do it.
With an administrator command prompt open, type the following command:
netsh interface teredo set state disabledThat should return an “Ok.” response text and we’re done.
Firewall Rules
Now let’s head on to the Windows firewall rules to protect our VPN traffic. We will configure 3 rules in total: one based on TCP port traffic, another for UDP ports and finally one for IP specific traffic.
At this point you should have written down the IP address for your VPN (and hopefully its a dedicated IP address otherwise you will be changing the third rule often) along with the TCP/UDP port it uses.
Now let’s open the Windows Defender Firewall. You can follow the same steps as before: head over to the control panel, then Network and Internet, followed by Network and Sharing Center. On the bottom left you should find “See also” options with “Windows Defender Firewall” under it.
Let’s begin by making sure our domain properties are correct.
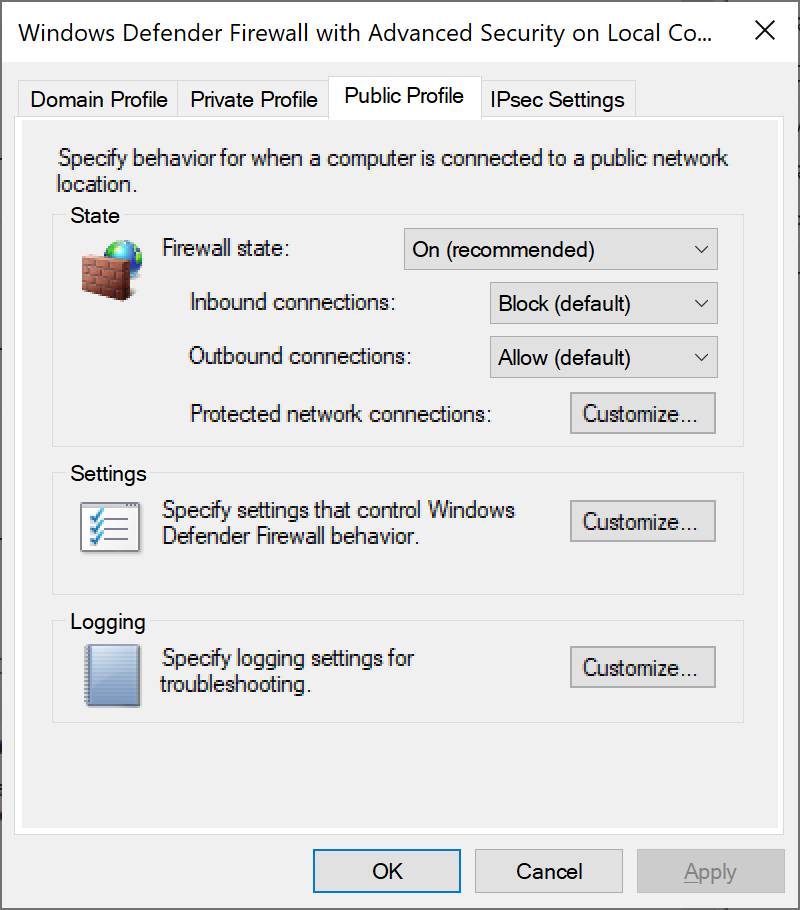
Click on “Windows Defender Firewall Properties”. We will focus on the Private and Public profiles. Make sure they have the following options just like mine:
- Firewall state: “On (recommended)”
- Inbound connections: “Block (default)”
- Outbound connections: “Allow (default)”
You can confirm these with the images below:


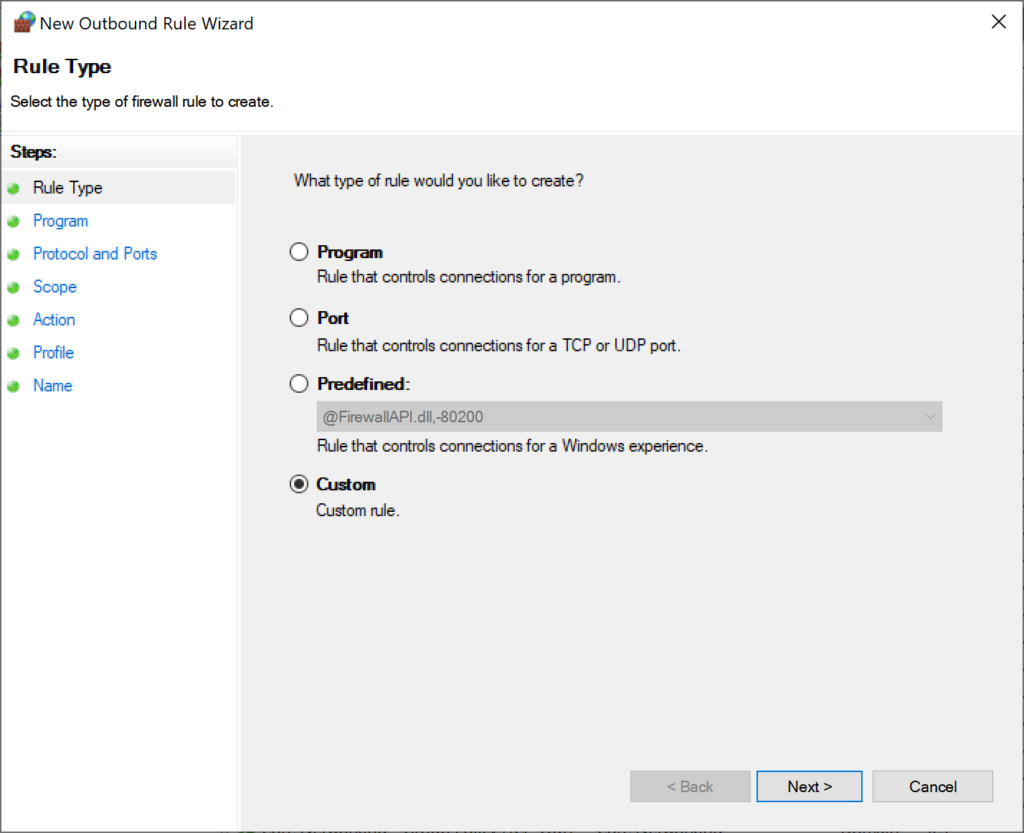
Now to begin creating the rules, click on “Outbound Rules” and then “New Rule…”.
We will follow the same steps for all three rules so I will just post the images for each rule below:
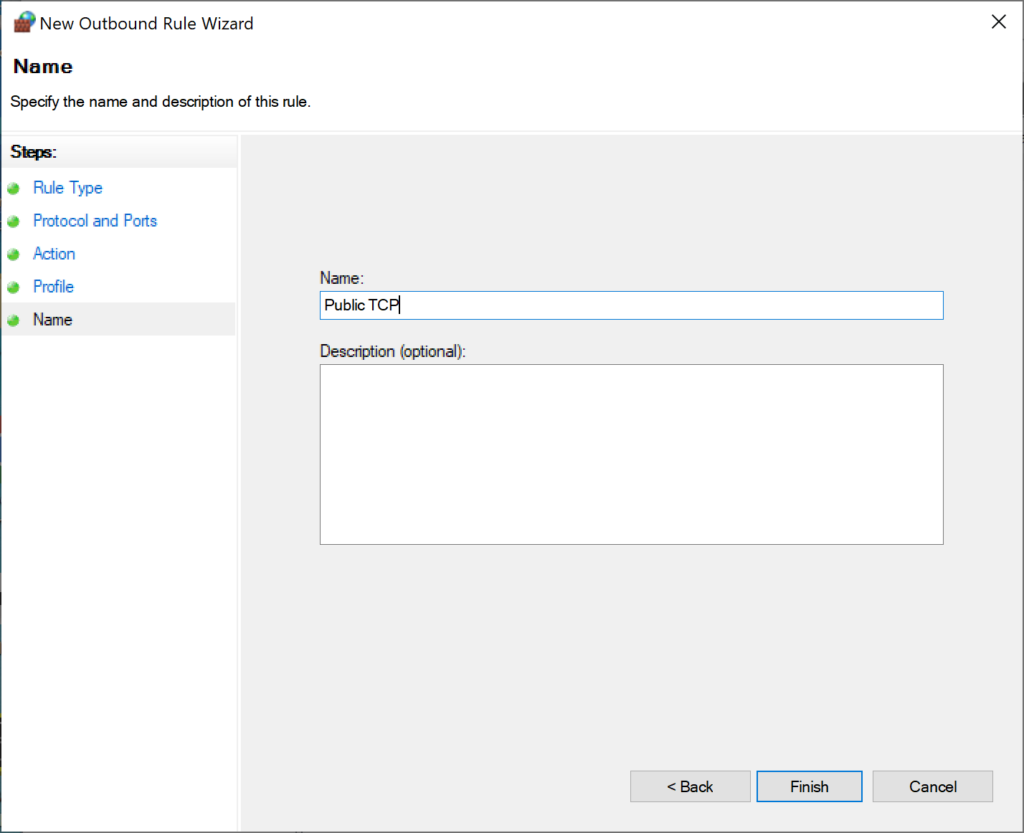
Public TCP Rule
The only important thing to remember here is to isolate the port you want to use. For example my VPN uses UDP port 1193 so this TCP rule isn’t really important. But I set it up to allow port 443 so that the port ranges should look like:
1-442, 444-65535Note how we cover the entire port range leaving just 443 as the only port we allow traffic for.


Public UDP Rule
Same thing as the previous rule, simply isolate the port you want to use or block the whole range.


Non-VPN Traffic Rule
This rule also follows the same logic but instead we will apply it to IP address range. Take your VPN’s IP address and make sure it is the only allowed address in step 4 (image 4 below).
For example my VPN’s IP address is 167.88.33.35, so that the blocked ranges would look like:
0.0.0.0-167.88.33.34
167.88.33.36-255.255.255.255
That would cover the entire range properly.


That’s it.
Now on the “Windows Defender Firewall” screen, when you click on “Outbound Rules” you should see your three rules there. You can enable or disable them at any time to activate this configuration.
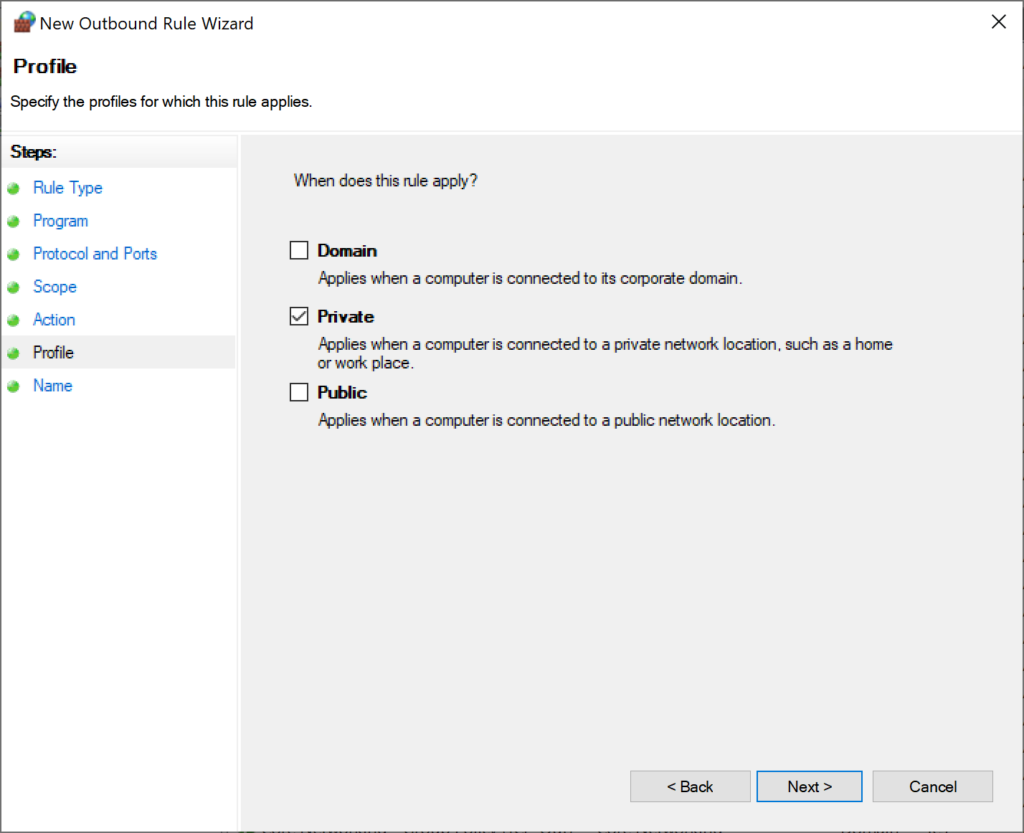
Alternatively, with the way we set it up, you can just click on your network in the bottom right network options, then hit “Properties” and simply change your Network profile from “Private” to “Public” and that should enable your internet to flow thru again (since we only configured the “Private” domain for these rules). Use this method to ensure your configuration works.
Credits
I first saw this method in a superuser forum post probably around ten years ago and have been using it since, now spanning multiple Windows versions and it still works flawlessly.


Leave a Comment